

There’s nothing like the thrill of getting that first big opportunity. A client signs on for a large project, a retainer deal lands in your inbox, or someone asks for a quote with more zeroes than you’ve seen before. You’ve leveled up. You’re going pro.
But before you send off that first big invoice and hit “submit,” take a moment. Because how you handle this step can set the tone for your entire business. A few smart moves before you request payment can mean the difference between smooth sailing and a financial headache.
Contents
- Step 1: Get Your Contract in Writing
- Step 2: Set Up a Professional Invoicing System
- Step 3: Open a Business Bank Account
- Step 4: Choose a Legal Business Structure
- Step 5: Know Your Payment Policies (and Stick to Them)
- Step 6: Prepare for Taxes from Day One
- Step 7: Communicate Like a Pro
- Get Paid Like a Pro, Not a Hobbyist
Step 1: Get Your Contract in Writing
Verbal agreements and emails might feel fine for small projects. But for anything big—especially your first major job—a written contract isn’t optional. It’s protection, clarity, and professionalism all in one.
Your Contract Should Cover:
- Scope of work: What exactly are you delivering? What’s excluded?
- Timeline: When will deliverables be sent? Are there milestones?
- Payment schedule: Is it 50% upfront? Paid upon delivery? Split into phases?
- Late payment policy: Will you charge fees or pause work?
- Revision terms: How many rounds are included?
- Cancellation clause: What happens if either party wants out?
Even if it feels awkward to ask, clients will respect your professionalism. If they push back on a basic contract, that’s a red flag—not a missed opportunity.
Step 2: Set Up a Professional Invoicing System
Your invoice isn’t just a request for money—it’s a reflection of your business. A clear, well-formatted invoice speeds up payment, builds trust, and avoids back-and-forth confusion.
What Every Invoice Should Include:
- Your business name and contact info
- The client’s billing info
- Invoice number and date
- Detailed list of services or products
- Total amount due, payment due date, and payment methods
- Any applicable tax or late fee info
Use invoicing tools like Wave, FreshBooks, or even a well-designed template to keep things professional and easy to track.
Step 3: Open a Business Bank Account
If your client pays you thousands of dollars and it lands in your personal checking account, you’ve just created a paperwork mess. Separating business and personal finances isn’t just cleaner—it’s essential if you want to stay organized, compliant, and ready for growth.
Benefits of a Business Bank Account
- Clear financial records for taxes, deductions, and budgeting
- Cleaner client payment tracking—especially as you grow
- Enables business credit and funding opportunities later
- Signals legitimacy to clients and vendors
You’ll typically need a business name and EIN (Employer Identification Number) to open one. Which brings us to the next point…
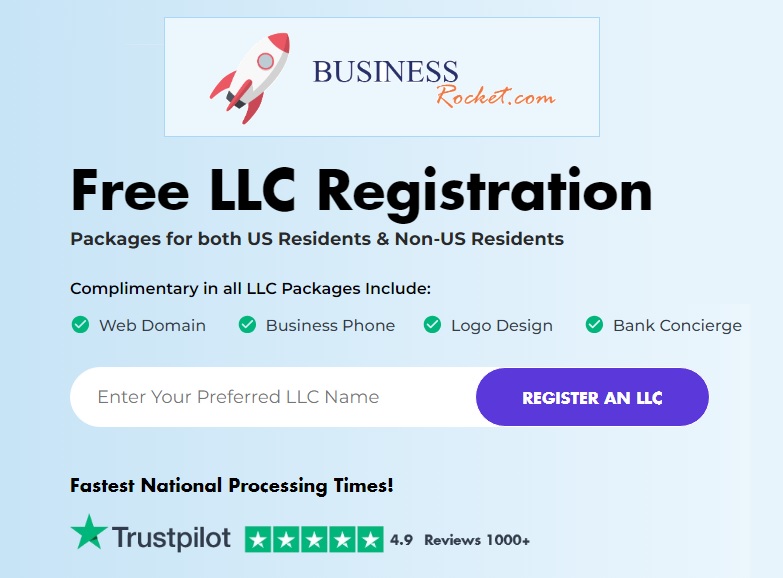
Step 4: Choose a Legal Business Structure
Once you start earning serious money, you’re no longer in hobby territory. You need a business structure that protects you and supports your goals.
Why an LLC Makes Sense for Many First-Timers
- Liability protection: Keeps your personal finances separate from business risk.
- Professional appearance: Clients often take “YourBusinessName LLC” more seriously than a personal name.
- Tax options: Depending on your income, you may benefit from S-Corp election later.
- Banking and funding: You can’t access many business financial tools without a formal structure.
Filing an LLC is affordable and easy in most states, and it’s one of the best decisions you can make before sending out big invoices.
Step 5: Know Your Payment Policies (and Stick to Them)
One of the biggest mistakes new entrepreneurs make is being too flexible about payments. Don’t wait until a client pays late to figure out what your policy should’ve been.
Decide in Advance:
- Do you require a deposit? (Hint: you should.)
- When is final payment due?
- What happens if a payment is late?
- What are your refund or cancellation policies?
These details should be in your contract, but also reiterated in your invoice and client communication. The clearer you are, the fewer awkward conversations you’ll have.
Step 6: Prepare for Taxes from Day One
Your first big invoice might also be your first big tax surprise. Unlike a regular paycheck, there’s no employer withholding taxes on your behalf. That’s now your job.
Smart First Moves:
- Set aside 25–30% of every payment for taxes
- Track all income and expenses in real-time
- Consider working with a tax pro—especially for quarterly tax estimates
You don’t need to be an accountant—but you do need to be intentional. Starting clean now prevents stress later.
Step 7: Communicate Like a Pro
Being professional isn’t about being corporate. It’s about showing up with clarity, consistency, and respect—for your client’s time and your own. From your first discovery call to your final invoice, how you communicate shapes your reputation.
Things That Build Trust Fast:
- Reply promptly to emails and messages
- Set expectations early (on timelines, deliverables, and feedback)
- Be firm but respectful about boundaries and policies
- Follow through on what you promise—every time
The more you treat yourself like a pro, the more your clients will, too.
Get Paid Like a Pro, Not a Hobbyist
Your first big invoice is more than a transaction. It’s a turning point. It’s proof that your work has real value—and that you’re stepping into something bigger. But with more income comes more responsibility, more structure, and more need for protection.
So take the time to set things up right. Create contracts. Form an LLC. Set up your bank account. Know your numbers. Communicate like a leader. That way, when the money lands, you’re not just excited—you’re fully prepared.
Because getting paid is great. But getting paid smart? That’s when you know you’ve truly gone pro.